In the ever-expanding landscape of vaping products, rebuildable dripping atomisers (RDAs) have emerged as a favourite among enthusiasts due to their customisability and superior flavour production. Today we'll provide an in-depth look into the technicalities of building a simple RDA - it's much simpler, easier and quicker than you think.
Firstly, let’s define what an RDA is: An RDA is a type of vaping device, featuring a build deck where the vaper installs their coils and wicks.
Unlike tank-based systems, the user manually drips e-liquid onto the coil and wick, offering more control over the vaping experience. This article will guide you through the process of building an RDA from scratch, complete with detailed instructions and explanations of the relevant components.
Understanding the RDA's Components
The first step in the process is to understand the various components of an RDA, which can vary slightly depending on the specific model and design. However, the core components remain the same.
- Build Deck: This is where you install your coils and wick. It usually has two or more posts with holes where the ends of the coil are inserted and fastened.
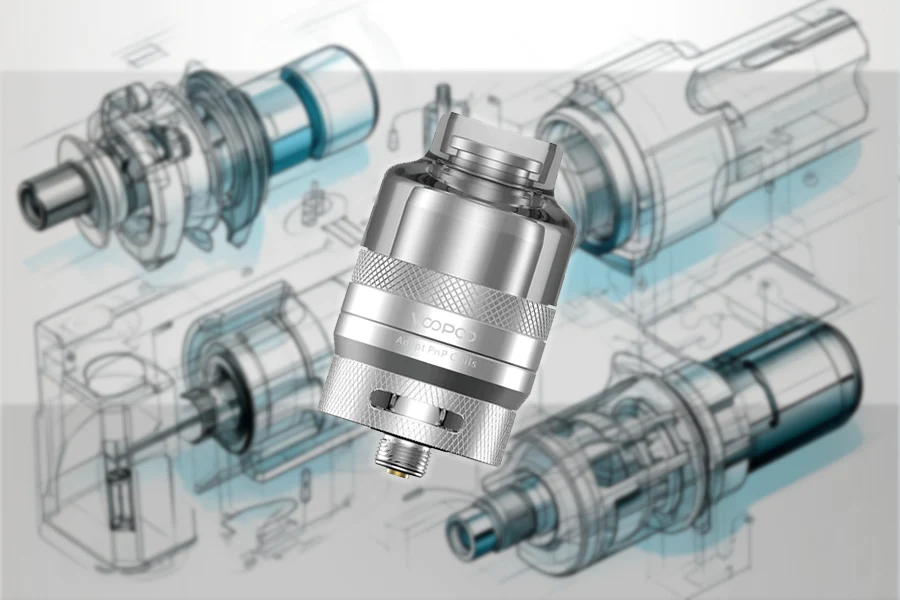
- Base: The build deck is mounted onto this. It includes a connector pin for attaching the RDA to the mod.
- Cap: This covers the build deck and has one or more airflow holes that can often be adjusted to control the amount of air drawn in when inhaling.
- Drip Tip: This is the mouthpiece through which the vapour is inhaled.
Choosing the Right Wire
The coil's wire type significantly impacts the vaping experience. The most commonly used wire types include Kanthal, stainless steel, nickel, and titanium. For beginners, Kanthal is an ideal choice due to its ease of use and resistance stability.
The wire's thickness or gauge is another crucial factor to consider. A lower gauge denotes a thicker wire, leading to lower resistance and higher heat. If you're aiming for larger vapour clouds, opt for a lower gauge wire. Conversely, a higher gauge wire will produce less heat, better for those seeking a cooler vape and enhanced flavour.
Building the Coil
To build the coil, you'll need your chosen wire and a rod of some sort (like a small screwdriver or a drill bit) that matches the inner diameter you want for your coil.
Wrap the wire around your rod. The number of wraps will determine the coil's resistance. More wraps equal higher resistance, leading to less current flowing and a cooler vape. Conversely, fewer wraps lower the resistance, producing more heat.
Once your coil is wrapped, insert the ends into the holes in the build deck's posts and tighten the screws to secure it. Trim any excess wire protruding from the posts.
This can be the most difficult part of building an RDA - winding coils is a real skill.
Wicking
Cotton is the most commonly used wicking material due to its excellent e-liquid absorption properties and neutral flavour. Take a piece of cotton roughly the same diameter as the inner diameter of your coil. Thread it through the coil, ensuring it's snug but not overly tight. The ends of the cotton should be long enough to reach the bottom of the deck. Trim any excess.
Juicing
The 'juicing' process, also known as priming, is a crucial step in ensuring a smooth and flavourful vaping experience. This step involves saturating the wick with your chosen e-liquid to prepare it for heating. The following detailed steps will guide you on how to juice up your newly built RDA effectively.
Firstly, make sure your wick is in place, threaded through the coil, and trimmed neatly. Now, let's proceed to the juicing process.
Take your selected e-liquid, which can range from a variety of flavours and nicotine strengths, depending on personal preference. Many vapers in the UK prefer premium e-liquids for their superior flavour profile and quality. However, the choice is purely subjective and depends entirely on individual taste preferences.
When you start dripping the e-liquid onto the coil and wick, aim to do so drop by drop, rather than in a continuous stream. This method ensures the wick has time to absorb the liquid properly and doesn’t become overwhelmed, which could result in a mess.
Focus the e-liquid drops directly onto the coil and the surrounding cotton wick. Continue adding drops until the wick appears fully saturated. While it might seem intuitive to soak the cotton until it can’t absorb any more liquid, be careful not to flood it. Over-saturation can lead to e-liquid spitting back when you fire up the RDA, which isn't a pleasant experience. The ideal saturation level is when the cotton is moist throughout, but there isn't excess liquid pooling on the deck.
After your coil is sufficiently juiced, give it a moment for the e-liquid to seep into the cotton. Once the cotton has had a chance to absorb the liquid, it's recommended to give the mod a short burst of power. This action heats the e-liquid and helps it permeate the wick more thoroughly, especially for new coils.
Watch the coil as it heats the liquid; you should see a light vapour begin to rise. This indication confirms that your RDA is functioning as it should. If the vapour isn’t rising, or if the coil isn't heating the liquid evenly, you may need to go back a step and ensure the coil and wick are correctly set up.
Upon completion of the priming process, replace the cap, ensuring the air holes align with the coil position for optimal airflow. Now, attach the RDA to your vaping mod, ensuring a secure and stable connection.
Priming is not just a one-time process when setting up a new coil and wick. It's also recommended to re-drip e-liquid after a few puffs. The frequency will depend on the size of your wick, the power level you're vaping at, and the type of e-liquid you're using. Monitor your vaping experience and re-drip accordingly to avoid 'dry hits', where the wick doesn't have enough e-liquid on it. A little vigilance can ensure a consistently satisfying vape.
The 'juicing' process may sound intricate, but it's quite simple in practice and plays a significant role in your overall vaping experience. By correctly juicing up your RDA, you're setting yourself up for a flavourful, smooth, and enjoyable vape.
Testing & Adjustments
Fire the mod briefly and watch for even heating of the coil from the centre outwards. If there are hot spots or uneven heating, adjust the coil's positioning or tighten the screws. Once everything is working correctly, you're ready to vape.
Building your RDA offers numerous benefits, from cost-saving to customisability. It allows you to control every aspect of your vaping experience, down to the wire type, coil resistance, wicking material, and even the flavour of your e-liquid.
For the UK business audience, understanding the ins and outs of RDAs can unlock a wealth of opportunities. The vaping market in the UK has seen significant growth in recent years, with a rising number of consumers shifting towards customisable devices like RDAs. Offering a range of RDA components, hosting workshops, or even creating comprehensive how-to guides like this one could prove to be profitable strategies.
In conclusion, building an RDA may seem daunting at first glance, but with some practice and understanding, it can be a straightforward process. This guide has equipped you with the fundamental knowledge to start your journey. Remember, safety is paramount in any endeavour. Always ensure the components are properly installed, and the device is functioning correctly before use. Happy vaping!